Friday, November 25, 2011

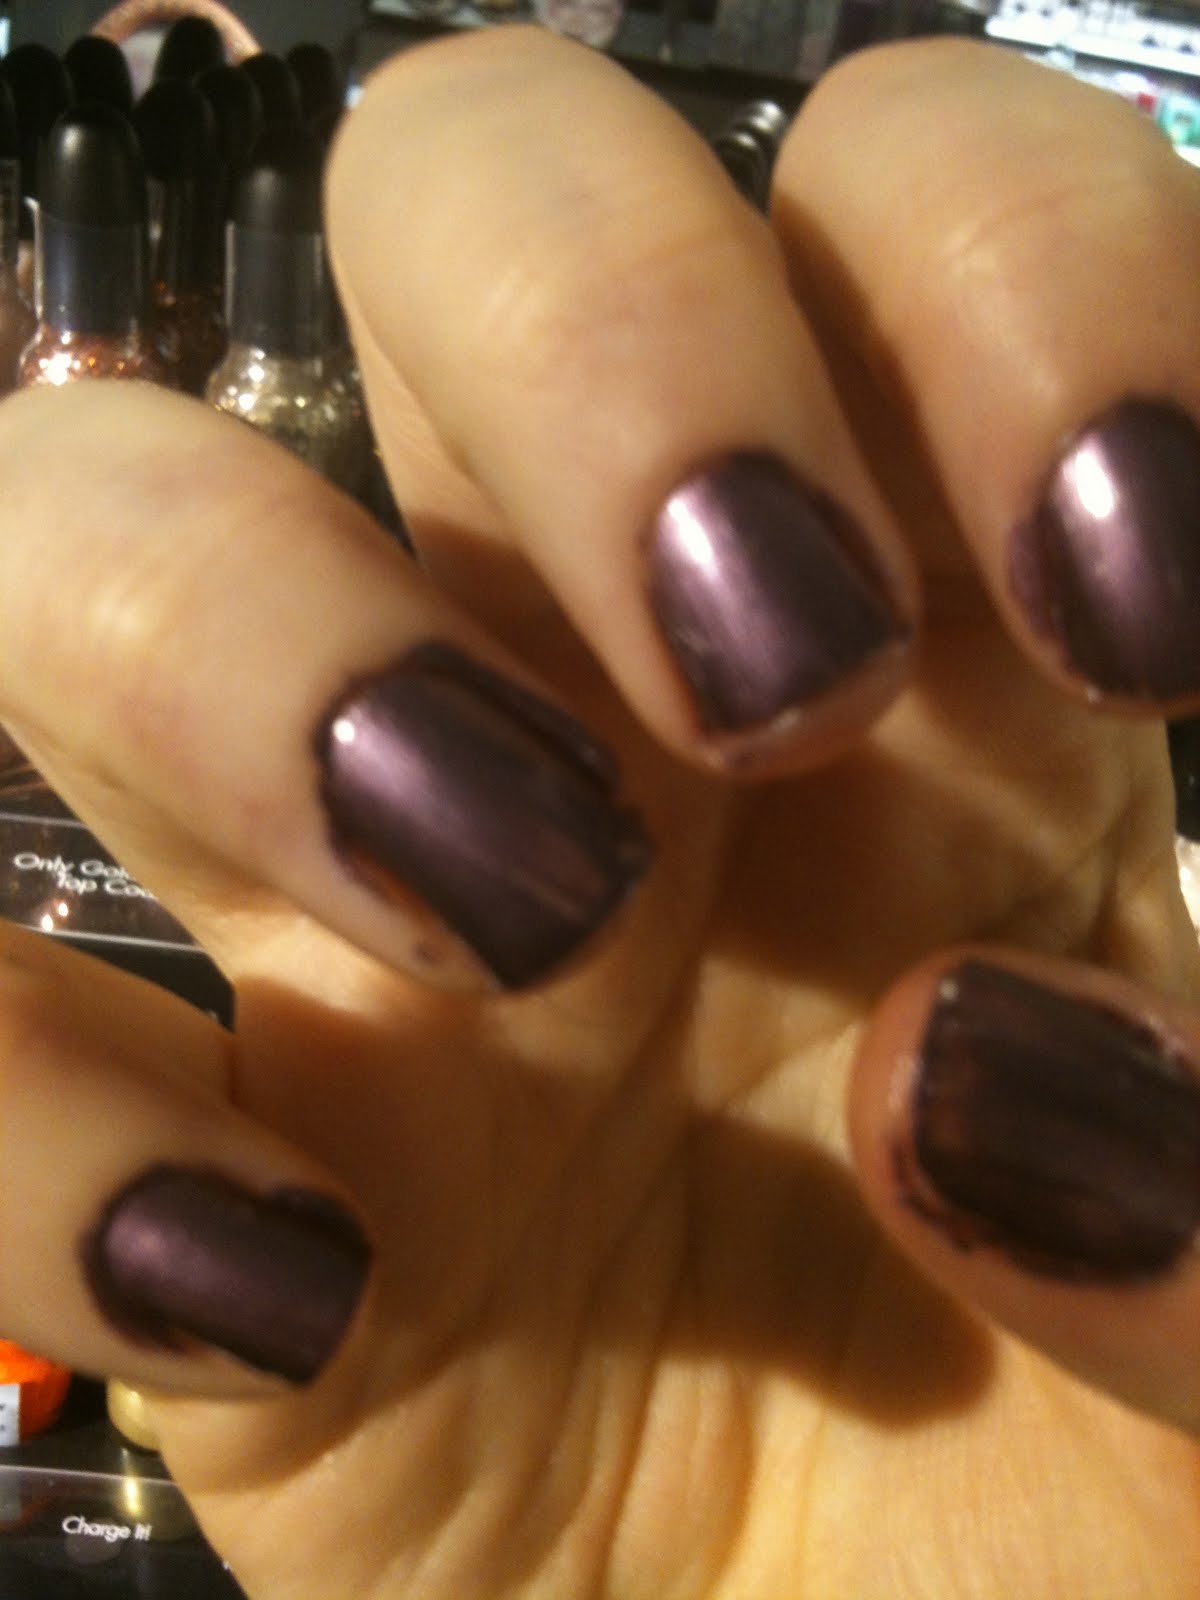
magnetic nail polish!


It is a real shame that this stuff is so expensive and pretty hard to find. I'm not sure if it will become a big trend, but I absolutley love it. I haven't bought a bottle because I'm too cheap, so I just go to sephora and do them there. 16$ a bottle is entirely too much money to pay for one nail polish, now.. I know I wouldn't have said anything like that a year ago when I had money to burn! They do have a brand called LCN thagt makes it in several different colors, but until then I will be stuck with Nails inc. Sephora is currently out of the green :( but the purple is nice! (can't you tell my cheap ass took the photos at the sephora lol)

Saturday, October 1, 2011

Pink sponge + flowers nail art


So In the spirit of my recent dotting tool purchases, I have been researching easy- intermediate nail designs that I can do on my short nails and have it look halfway decent. I have never sponged before, so I figured I needed to try sponge design as well. I came across a tutorial for something similar to what I wanted to do. I wanted to sponge hot pink of the top half of my nails, and then put hot pink glitter. After doing this, I wasn't sure what else to put on, but I knew these nails needed more. I found a design similar to mine but with flowers, and this is how it turned out.
I received many compliments and people couldn't believe I had done them myself. Here is a quick written guide of what to do.
1. Base coats, I used my 99 cent garlic base coat plus Sephora's whitening base coat. Let dry
2. Color, I decided to use a hot pink by Matisse. Take a cosmetic sponge (or household sponge like me if your cheap ;) Place a bit of polish on a paper or plate, then dip the sponge into the color. Dab on the side then lightly dab onto your nail until desired consistency.
3. Sparkle Color, I chose a hot pink sparkle by Matisse. I simply painted this on the top of the sponged color, but you could also sponge this on as well for a less sparkled look.
4. Top coat. I applied one layer of top coat to even out the tips. Let dry completely
5. Take your two colors for the flower, pour the petal color (I used white) onto your plate or paper and dab your dotting tool into it, place five little dots in a circle on either diagonal side of the nail. Do for all ten nails and let dry.
6. Take your "pollen" color, or the color for the inside of the flowers, put a small amount on your paper or plate, and dot the color on your flowers. Let dry completely.
7. Top coat, two to three coats and let dry.
8. Voila!

Tuesday, September 27, 2011

Cheetah print nails!


I will be honest with all of you, I have been in a big ball of depression, dealing with life. Working so hard for no money, with no health insurance and no security is really hard. The other day at work I needed a pick-me-up, and I decided to go to the beauty supply store across the way and decided to buy a dotting tool. Now, even though I do my nails constantly and I watch tons of online videos about nail design, I never really cared to invest in the dotting tool. Luckily I found a set of three double sided dotting tools for five bucks, mega score. They are all different sizes for all kinds of designs- so stay tuned.
My first design I did on the train, literally (okay well not the base color). But it was pretty simple. Here is a very basic set of instructions. You will need a piece of paper, base coat, top coat, and a base color, and two "design" colors, for the inside dots and outside dots of the cheetah print.
1. clean nails, apply base coat, and two coats of color. Let dry completely. I used NK enamel in Pearl, very inexpensive, you can find it at many beauty supply stores in NYC
2. When your nails are dry, place a dot of the "inside" color of the cheetah print on a piece of paper. I chose NK enamel cotton candy(also very cheap but a girls gotta work with what she has to work with!). By putting the polish on a piece of paper to dip into with the dotting tool, you will save a lot on clean up. You can however (if you want) just dip it into the bottle onto the nail.
3. Dip the dotting tool into the bottle or onto the drop on the paper. Make random dots on your nail, it doesn't matter if they are big or small or messy. Let completely dry.
4. Take your second design polish and put drops on the paper, using the dotting tool, draw little c's around the dots you made with the first polish. Let completely dry
5. place two coats of top coat, let dry

And there ya have it. Let me know what you guys think!
Wednesday, September 21, 2011

Post from Beyond the summer- I'm back!(forrealthistimeiswear)


I'm sorry! I worked all summer so I could work all year and not get paid for it! (I'm a grad student for teaching, and I am student teaching this year.. yeah). Anyway, the summer was FANTASTIC, my awesome, lucrative job included lots of cooking, swimming in the sunny Astoria park pool, and going to awesome and cool museums with my two "minions" (my husband calls them that because they perform my every beck and call, love you ladies). Well I have put of posting all summer and now it is fall here in NYC, and the new colors have been out on all of the blogs for months. I do not see many ladies on the sleek streets sporting the deep blues that I was SO excited about (Chanel's new colors). I am however, still seeing a lot of people sporting neons and brights on their toes and on their hands, especially in the reds and other warms category.I am trying to move into fall, today I have for you Finger Paints Mistletoe mischief (okay I'm ready for Christmas, I'm a twenty four year old grandma in case you havent figured that out). ItI think its lovely, a hunter green with shiny sparkly green glitter. I think that the darkness of it matched with my pink blouse and grey trousers will really stand out, in case you were wondering why I chose a Hunter green with sparkle (think about it, a matte hunter is more applicable for fall, but this may stand out more). In any case, I'm wearing it until tomorrow, when it will inevitably chip.
Speaking of chipping- I have gotten into the horrible habit of not doing my nails every day. As you may know, my nail polish chips on the first day or at MOST the second no matter how well I do my nails, or how much I pay for a professional manicurist. My nails are flimsy and I do a lot of dishes and other hand-related things, grading, cleaning, clenching my head in hope that it will all stop, ect. That being said, I usually do my nails or at least touch up every day, because my nails bother me if they are not well-manicured. However, going to the pool every day, eating ice cream, cooking, cleaning and washing for the girls I babysit and for my husband came first this summer, so I didn't do them every day (eep). It was a great summer, we all had a blast, but school is back in session, and that means Mrs. Fiona will have a slammin manicure every lesson, every day.
Thanks for reading!
Enjoy!

Saturday, July 16, 2011

Daily Manicure: July 16, 2011: OPI ms.Universe & Color Club Fuchsia fractured!


My manicure of the day (tomorrow really, cuz I'm going to bed now) is a combination of two of my new favs. I told you that I bought color club's new shatter (fractured) in blue (have a bash) and fuchsia (Crush on you). Well, as I was walking around Chelsea, we stumbled upon a collection holder of the Fractured collection, but instead of these two colors, they had different ones for blue and purple- they had splitting image (a blue with shimmer)and Kiss and Break up ( A true purple w shimmer). These two colors seem to be dupes of the Mattesse line, and I've looked at swatches and they don't crack quite like the two I have, so I'm happy I got what I got. Also, fuchsia is much hotter than purple and I don't care what anyone says! The good news for all, is that there are several options out there for blues, pinks and purples thanks to Color Club!
I also wanted to share with you that I bought 3 OPI shades,(they were 3 for $20, bday present from husband) two from Ms. Universe collection and one from the Summer Nice Stems collection. I bought I lilly love you, a jelly pink w crazy glitter action, Crown me already, pure intense s
ilver glitter, and swimsuit...nailed it, also from the Ms. Universe collection ( a GREAT blue). I will swatch them all for you tomorrow, but I needed to tell you that I bought them because Crown me already, paired with the Color club Fuchsia, is my Manicure of the day, and tell me it isn't AMAZING!


Daily Manicure: 7/16/11


While walking around Friday in NYC, I stumbled upon llamasqua's Poke ( a slightly muted but beautiful purple w shimmer) in a Sephora in Chelsea. I decided to paint over my blue shatter and white, because I had had it on for more than a day, and as I said in my last post, I didn't like how the white got distorted.
Aside from the fact that my ghetto ass didn't buy anything from Sephora and simply did a whole manicure, it actually came out half decent. Usually tester polishes are clumpy, and this one was bit clumpy also, but for the circumstances, I wanted to share the color and swatch. These are $14 dollars a bottle, so be prepared to hand over a larger chunk of change for these.

I also want to add that while at Sephora, I noticed that they have brought out red, turqouise and navy blue "blasted" shatter colors. They also have come out with new lines of nail stickers similar to their other ones called "nail bling", some of them have sparkles and lines and are clear at the same time, so you can paint your nails then put them on for a really cool design. They now have loose glitter in several colors, and NAIL ART PENS. I didn't get a chance to write down all of the prices of each new item, but its a fairly new thing, so go to Sephora ASAP to check it out. They probably range from $6-10, maybe even more. Also, if I were a betting woman I would put my money that they aren't the best quality, especially the stickers. The girl I babysit tried the nail pen, and actually it looked really cool, so I'll have to get one and draw obscene images for you guys.

Thanks for reading

Friday, July 15, 2011

Manicure of the day-July 14 Color Club fractured blue


So like I said earlier crackle/shatter/fractured/frictured/broken/whatever polishes are being made by every single nail polish brand imaginable. Only a handful of companies have stayed behind and have not released a shatter-like collection. Yesterday's manicure was Color Club's Blue Shatter over orly white, and although it looked bomb in the beginning, I do have to say that I didn't wait long enough for the white to dry- or maybe didn't put enough white layers on my nails, because I noticed that the white looked yellowish or dirty in some spots.
I love the Color Club shatter formula, I own two shatters that I found at a local beauty supply store here in Astoria, and I have to say they both Shatter like crazy in every which way possible. When I ventured into Manhattan today with the girls I babysit, we found a small beauty supply store called Essentials on 5th avenue by around 18th street/19th street. They had the Color Club collection, but they didn't have the Fuchsia and blue I bought (picture below). This makes me think that the full color club shatter collection is bigger than this one.

Monday, July 11, 2011

American Apparel, Summer peach Mystery


So I have been on an American Apparel polish kick, I love the formula, the colors are amazing, and for the most part they mix well. I have had some trouble when using my latest base coat, which is a silk wrap made by Bucci, I also tried Nailrepair, both forumlas used as base coats caused the American Apparel polish to bubble. When I switched to a .99 cent, garlic thin base coat by Jordana, everything worked out really well.
That being said about the formula, it was my birthday recently and my mom bought me a fifty dollar visa card, so I decided to go look at American Apparels polishes. Although I have the full neon collection, they had FINALLY come out with a neon blue which I had to get. My husband and I walked down from the restaurant and we saw that they were giving away a polish (from a select color array of course) with purchase. Not only that, but American Apparel sells the polishes for 3 for 15$ (individually priced at $6) So I got four polishes for $15, no tax yay.
As you can imagine, I went on the AA website and tracked down swatches of every color to see which ones I wanted, And I bought like sixteen new polishes. My latest attempt was the most interesting. So I wanted this color, Manilla, which wasn't available in any store in NYC for some reason, probably because they were recalled, or discontinued (each store told me a different story, or didn't know). The one store in Tribecca DID have it, so I went down, after having asked if they were doing the promotion. They said they did (but didn't).
When I got there I picked out the manilla, and summer peach, another color I had been eyeing. The manager who had helped me immediately noticed something about this bottle, it had a weird style number and it was a slightly different color than the other bottles of Summer peach. As you can see by the photos, they are completely different and, well I thought it was so cool that I overlooked the fact I couldn't get a free polish and I bought the two different tones plus the manilla Polish.
The photos of the mani are of the weird summer peach, which has a more yellow tone to it. It is sort of like Butter by American Apparel, but SOO much better.

Sunday, July 10, 2011

Crackle is EVERYWHERE


Hi all

I know its been a million years since I have been posting regularly or relevant information. I work seven days a week now, saving my money for the fall where I won't have enough time to work. In the last few months I have been coming across dozens of different brands that have created crackle, and I wanted to share the information with all of you lovelies because crackle is rad, and I have found many new hot colors that OPI and China Glaze have failed us.
Perhaps the best one I have found, in terms of color variation and price is a small brand called 2012, they retailed at my local beauty store for $3.99 a piece, but they had a wide variety of Neon colors, which I thought was rad. In terms of formula however, they are very smelly, and are not 4-free or 3-free by any means. They go on very well and dry almost immediately. If you have sensitive skin however, or are against the harmful chemicals in some nail polish, these are not for you. They are definitely a cheap brand making a quick profit. Also, I found that you must use the crackles over lighter colors in order to show off their true color potential. I put the blue pictured below over a darker color and it didn't show itself well, rather it appeared as though the two colors mixed together to form a new crackle color.
Walgreens in Times Square has a huge set up of Pure Ice crackles, which retail also retail at 3.99, they have almost every color- except a huge selection of neon colors. They have black, white, gold, silver, a silvery blue, a shimmery yellow. I bought a few for the girls I babysit and they liked them. I went to two other Walgreens in Manhattan and they were either sold out, or half of their small display was gone. The formula, according to my knowledge is NOT 3-free, but I don't have the bottles in front of me, so don't hold me to that. They apply smooth and look really good in my opinion, and they crack really well, with the exception of the silver polish, which cracks slightly different than the others.
Color club is another brand that came out with a good selection of crackle colors, including the hot pink and cobalt blue I purchased happily. I found these at another beauty supply store for $5.99. I feel like I could find them cheaper at another location if I tried, but it was a very spur-of-the-moment buy. These polishes aren't three-free either, but on applying them just as I was creating this post, I have to say they are some of the best cracking crackles out there. The picture below will show you, compared to 2012, they crack much more frequently, and I didn't even manipulate the brush! I simply brushed on.